Are you curious about diving into the world of DIY projects and coding, but don’t know where to start? Can a small, affordable computer really make a difference in learning complex concepts?
The Raspberry Pi is revolutionizing the way beginners learn about electronics and coding. This tiny computer offers an accessible platform for experimenting with various projects, from simple LED circuits to complex home automation systems.
With a Raspberry Pi, you can explore the world of electronics and programming in a hands-on way. It’s an ideal tool for those new to the field, providing a gentle learning curve and a supportive community.
Key Takeaways
Table of Contents
- Discover the basics of Raspberry Pi and its applications.
- Learn how to set up your Raspberry Pi for the first time.
- Explore simple electronics projects for beginners.
- Understand the importance of community support in learning.
- Get started with coding on Raspberry Pi.
Getting Started with Raspberry Pi
The Raspberry Pi is a series of small, affordable computers that have made learning about computing and programming accessible to everyone. This credit-card-sized computer has revolutionized the world of DIY electronics and coding, making it an ideal tool for beginners and hobbyists alike.
What is Raspberry Pi?
Raspberry Pi is a compact computer that can be used for a variety of projects, from simple programming exercises to complex DIY electronics. It’s designed to be versatile and user-friendly, making it perfect for learning and experimentation.
Different Raspberry Pi Models
There are several models of Raspberry Pi available, each with its own specifications and capabilities. The most recent models offer improved performance and features, while older models remain great for simple projects. Some popular models include the Raspberry Pi 4 and Raspberry Pi Zero.
Essential Components and Accessories
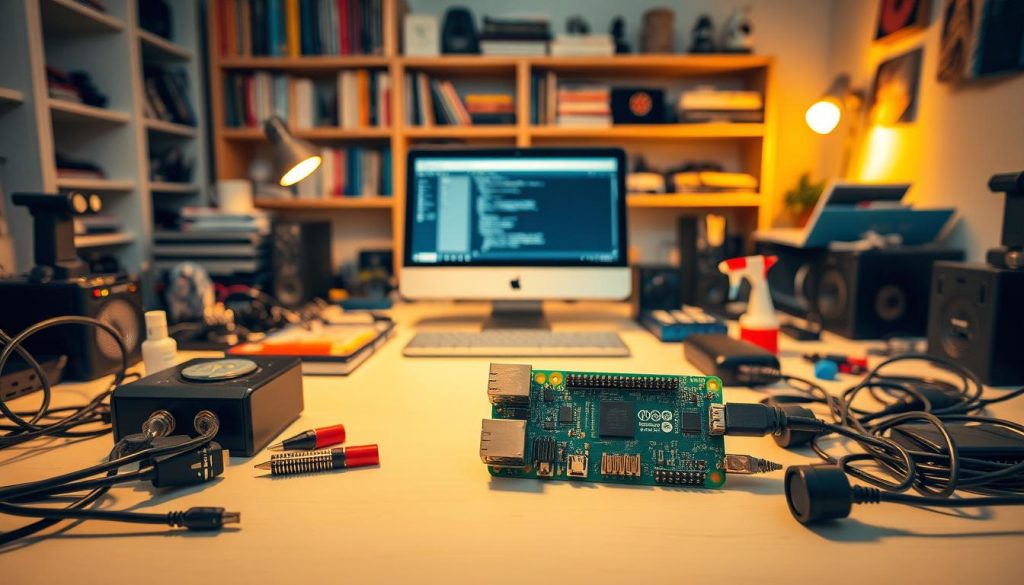
To get started with Raspberry Pi, you’ll need a few essential components and accessories, including:
- A microSD card for storage
- A power supply
- An HDMI cable for display
- A keyboard and mouse for input
These components will help you set up your Raspberry Pi and start exploring its capabilities.
Setting Up Your Raspberry Pi
Embarking on your Raspberry Pi adventure starts with installing the operating system and configuring your device. This crucial step lays the foundation for your future projects and tutorials.
Installing the Operating System
The first step in setting up your Raspberry Pi is to install an operating system. The official OS is Raspberry Pi OS, a Linux-based system optimized for the device. To install it, you’ll need to download the OS image from the official Raspberry Pi website and use a tool like Balena Etcher to flash it onto your microSD card.
First Boot Configuration
Once the OS is installed, insert the microSD card into your Raspberry Pi and power it up. The first boot will guide you through the initial configuration, including setting up your language, keyboard layout, and user account. Make sure to follow the on-screen instructions carefully to complete this process.
Connecting to Wi-Fi and Peripherals
After configuring your Raspberry Pi, you’ll need to connect it to your Wi-Fi network. This step is crucial for accessing raspberry pi tutorials for beginners and raspberry pi tutorial videos online. Additionally, you’ll need to connect any peripherals such as a keyboard, mouse, and monitor to interact with your device. For those interested in raspberry pi coding tutorials, having a stable internet connection is key.
By following these steps, you’ll have your Raspberry Pi up and running, ready to dive into the world of electronics and coding.
Understanding Raspberry Pi Electronics Tutorials
For those new to Raspberry Pi, understanding the available electronics tutorials is crucial. These tutorials are designed to guide users through various projects and help them gain practical experience with the Raspberry Pi.
Types of Tutorials Available
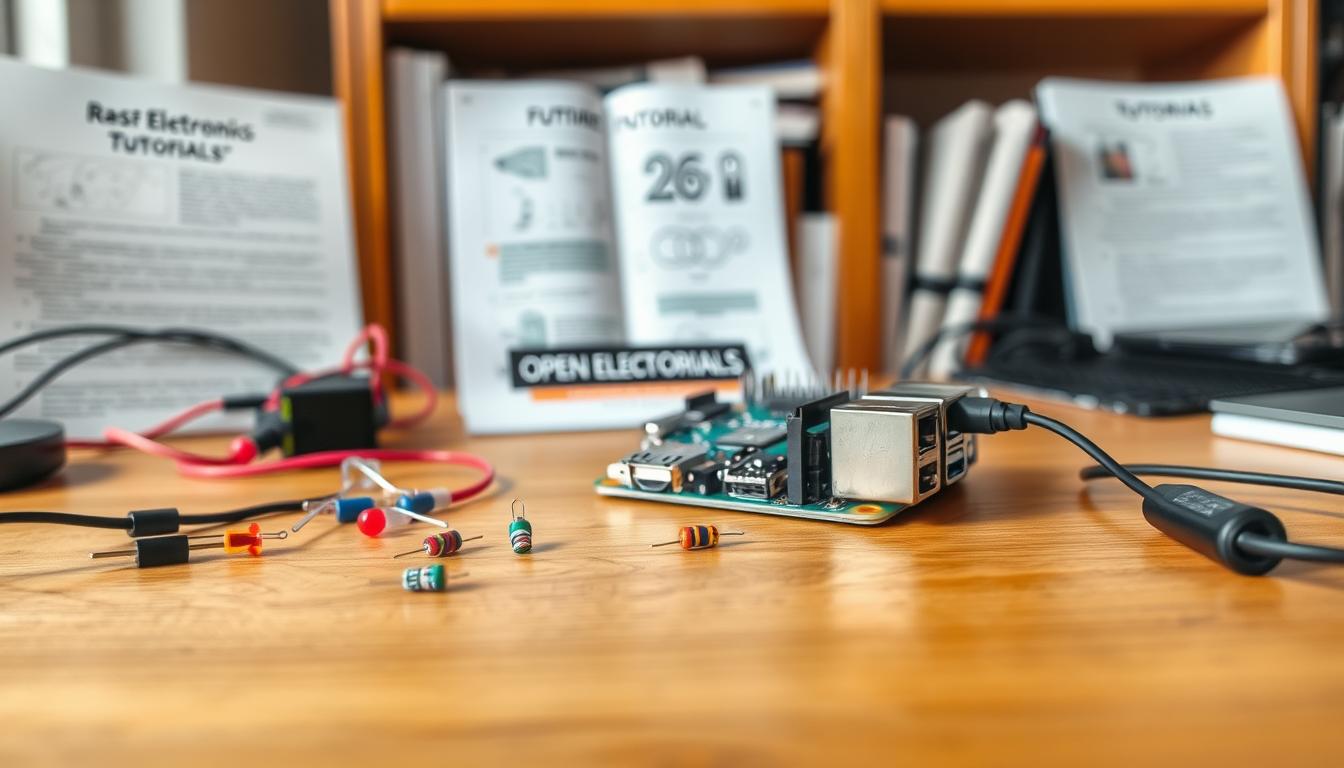
Raspberry Pi electronics tutorials come in various forms, including video tutorials, written guides, and project-based learning resources. These tutorials cater to different learning styles, ensuring that users can find a method that suits them best.
Learning Resources for Beginners
Beginners can benefit from a range of resources, including official Raspberry Pi documentation, online forums, and community-created content. Websites and YouTube channels dedicated to Raspberry Pi provide step-by-step instructions and troubleshooting tips.
How to Follow Along Effectively
To get the most out of Raspberry Pi electronics tutorials, it’s essential to follow along practically. Users should set up their Raspberry Pi, follow the tutorial instructions carefully, and don’t hesitate to ask for help in online forums if they encounter issues.
Basic Electronics Concepts for Raspberry Pi
To get the most out of your Raspberry Pi, it’s essential to grasp some fundamental electronics concepts. This knowledge will enable you to understand and execute various projects effectively.
GPIO Pins Explained
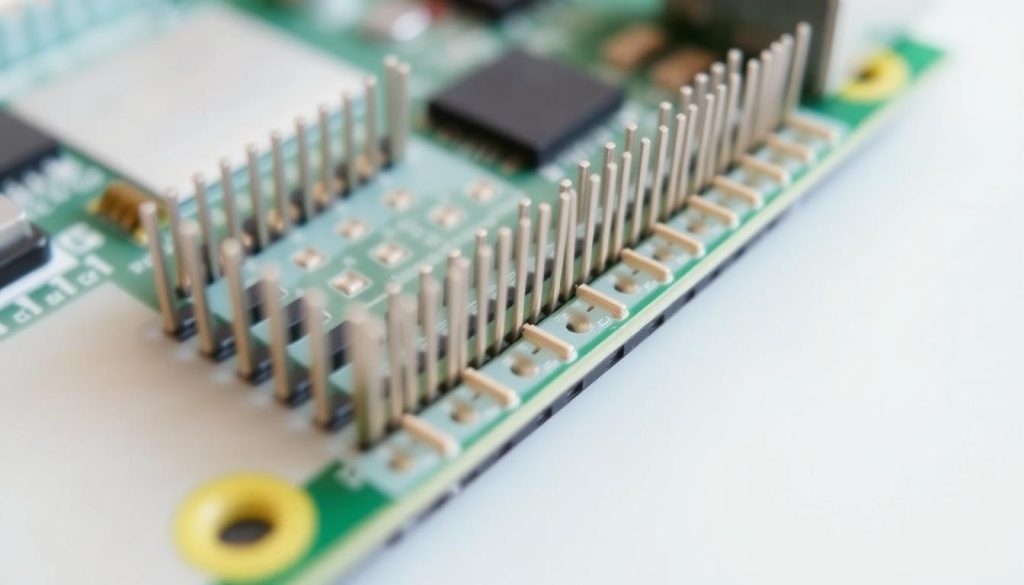
The General Purpose Input/Output (GPIO) pins on your Raspberry Pi are crucial for interacting with external components. These pins can be configured for various functions, allowing you to control and monitor different devices. Understanding how to use GPIO pins is fundamental to many Raspberry Pi projects.
Circuits and Components
Basic electronics involves understanding circuits and components such as resistors, LEDs, and capacitors. A circuit is a path through which electric current flows, and components are the devices that make up this path. Familiarizing yourself with these elements is vital for creating functional projects.
Safety Precautions
Safety is paramount when working with electronics. Protecting your Raspberry Pi from damage involves handling it carefully and using appropriate power sources. Additionally, handling electronic components requires care to avoid static electricity damage.
Protecting Your Raspberry Pi
To protect your Raspberry Pi, ensure you’re using the correct power supply and avoid exposing it to physical stress. Using a case can also help safeguard against physical damage.
Handling Electronic Components
When handling electronic components, it’s advisable to ground yourself to prevent static electricity damage. You can do this by touching a grounded metal object or wearing an anti-static wrist strap.

Programming Your Raspberry Pi
To unlock the full potential of your Raspberry Pi, you need to learn how to program it. Programming is the key to creating interactive projects and bringing your ideas to life. With the right programming skills, you can turn your Raspberry Pi into a versatile tool for various applications.
Introduction to Python
Python is the recommended programming language for Raspberry Pi. It’s a beginner-friendly language that’s easy to learn and has a vast number of libraries that make it ideal for Raspberry Pi projects. Python’s simplicity and versatility make it an excellent choice for both beginners and experienced programmers.
Controlling GPIO with Code
One of the most exciting aspects of Raspberry Pi programming is controlling the GPIO (General Purpose Input/Output) pins. GPIO pins allow you to connect your Raspberry Pi to external devices like LEDs, sensors, and motors. By writing code, you can control these devices and create interactive projects.
Useful Programming Libraries
To make programming your Raspberry Pi easier, there are several useful libraries you can use. Two of the most popular libraries are RPi.GPIO and Gpiozero.
RPi.GPIO Library
The RPi.GPIO library is a powerful tool for controlling GPIO pins. It provides a simple way to access and control the pins, making it ideal for a wide range of projects.
Gpiozero Library
Gpiozero is another popular library that’s designed to be even easier to use than RPi.GPIO. It provides a more user-friendly interface for controlling GPIO pins and is great for beginners.
By learning Python and using libraries like RPi.GPIO and Gpiozero, you can unlock the full potential of your Raspberry Pi and create amazing projects. Whether you’re a beginner or an experienced programmer, Raspberry Pi programming offers a world of possibilities.
Beginner-Friendly Raspberry Pi Projects
Discover the fun of creating with Raspberry Pi through our selection of beginner-friendly projects designed to get you started. These projects are perfect for those new to electronics and programming, offering a hands-on way to learn and apply new skills.
LED Blinking Project
The LED Blinking project is a classic introduction to programming and electronics with Raspberry Pi. It’s simple, yet it teaches fundamental concepts that are crucial for more complex projects.
Step-by-Step Instructions
- Connect the LED to a GPIO pin on your Raspberry Pi.
- Write a simple Python script to control the LED.
- Run the script and observe the LED blinking.
Code Explanation
The Python code for this project involves importing the necessary libraries, setting up the GPIO pin as an output, and then toggling the pin’s state to turn the LED on and off. This basic code structure is foundational for many Raspberry Pi projects.

Temperature Sensor Project
Monitoring temperature is a practical application of Raspberry Pi, useful in various DIY projects. This project introduces you to working with sensors.
Required Components
- Raspberry Pi
- Temperature sensor (e.g., DS18B20)
- Breadboard and jumper wires
Assembly and Programming
Assemble the circuit by connecting the temperature sensor to the Raspberry Pi. Then, write a Python script to read the temperature data from the sensor. This project helps you understand how to interface sensors with Raspberry Pi.
Motion Detector Project
Create a motion detection system using Raspberry Pi, which can be used for security or automation purposes. This project teaches you about integrating PIR sensors with your Raspberry Pi.
Setting Up the PIR Sensor
Connect the PIR sensor to your Raspberry Pi, ensuring you correctly wire the VCC, GND, and signal pins. Proper wiring is crucial for the sensor to work correctly.
Creating Alerts
Program your Raspberry Pi to detect motion and trigger an alert, such as turning on an LED or sending a notification. This involves writing a Python script that reads the PIR sensor’s output and performs the desired action.
These beginner-friendly Raspberry Pi projects not only introduce you to the capabilities of the Raspberry Pi but also provide a solid foundation in programming and electronics. By completing these projects, you’ll gain confidence and skills to tackle more complex DIY projects.
Troubleshooting Common Raspberry Pi Issues
Troubleshooting is an essential skill for Raspberry Pi enthusiasts, helping them overcome common hurdles and continue with their projects. Whether you’re a beginner or an experienced user, understanding how to identify and resolve issues can save time and frustration.
Power and Boot Problems
One of the most common issues with Raspberry Pi is related to power and booting. Ensure you’re using a suitable power supply that matches the Raspberry Pi model’s requirements. A weak or inappropriate power supply can lead to boot failures or erratic behavior.
Connection Issues
Connection problems can arise from Wi-Fi or Ethernet configurations. Double-check your network settings and ensure that your Raspberry Pi is properly connected to the network. For Wi-Fi issues, try restarting your router or re-configuring the Wi-Fi settings on your Raspberry Pi.
Programming Errors
When programming, syntax errors or incorrect library installations can cause issues. Review your code carefully, and ensure you’re using the correct libraries and syntax for your project. The official Raspberry Pi documentation is a valuable resource for troubleshooting programming issues.
Hardware Troubleshooting
For hardware-related problems, inspect your connections and components. A simple issue like a loose wire or incorrect component placement can cause significant problems. Refer to the Raspberry Pi GPIO documentation for guidance on using GPIO pins correctly.
| Issue | Common Cause | Solution |
|---|---|---|
| Boot Failure | Insufficient Power Supply | Use a suitable power supply |
| Wi-Fi Connectivity | Incorrect Wi-Fi Configuration | Re-configure Wi-Fi settings |
| Programming Errors | Syntax Errors or Incorrect Libraries | Review code and library installations |
As
“The ability to troubleshoot is a critical skill in the world of electronics and programming, allowing users to overcome obstacles and achieve their goals.”
By understanding common issues and their solutions, you can enhance your Raspberry Pi experience and tackle more complex projects with confidence.
Conclusion
As we’ve explored throughout this Raspberry Pi beginners guide, getting started with Raspberry Pi electronics tutorials is an exciting journey. With the right resources and a willingness to learn, anyone can dive into the world of DIY electronics and programming.
The key to success lies in understanding the basics, from setting up your Raspberry Pi to programming and troubleshooting. By following the tutorials and projects outlined in this guide, you’ll be well on your way to creating your own innovative projects, such as LED blinking circuits and motion detectors.
As you continue on your Raspberry Pi journey, remember that the community is vast and supportive. Don’t be afraid to explore new ideas, ask questions, and share your experiences. With Raspberry Pi electronics tutorials, the possibilities are endless, and the learning curve is designed to be gentle, making it an ideal platform for beginners.
Now that you’ve reached the end of this guide, take the first step into the world of Raspberry Pi. Start with simple projects, experiment, and have fun. The world of electronics and programming is at your fingertips, and with Raspberry Pi, you’re ready to make your mark.

